

Using custom fonts in a mobile app can truly enhance the experience of your users. Luckily, achieving this is quite straightforward with React Native though not completely free of a few hiccups and considerations that it's good to keep in mind.
In the next post, I'll show you how to implement and start using them for both Android and iOS.
Step 1: Setting up the project
First thing will be to create a new React Native project (or skip this if we already have an existing one):
react-native init JohnCenaInspirationalQuotesStep 2: Getting those sweet fonts
If you already have your fonts on your computer, then you're all set! But in case you haven't, you can use Google Fonts to look them up:
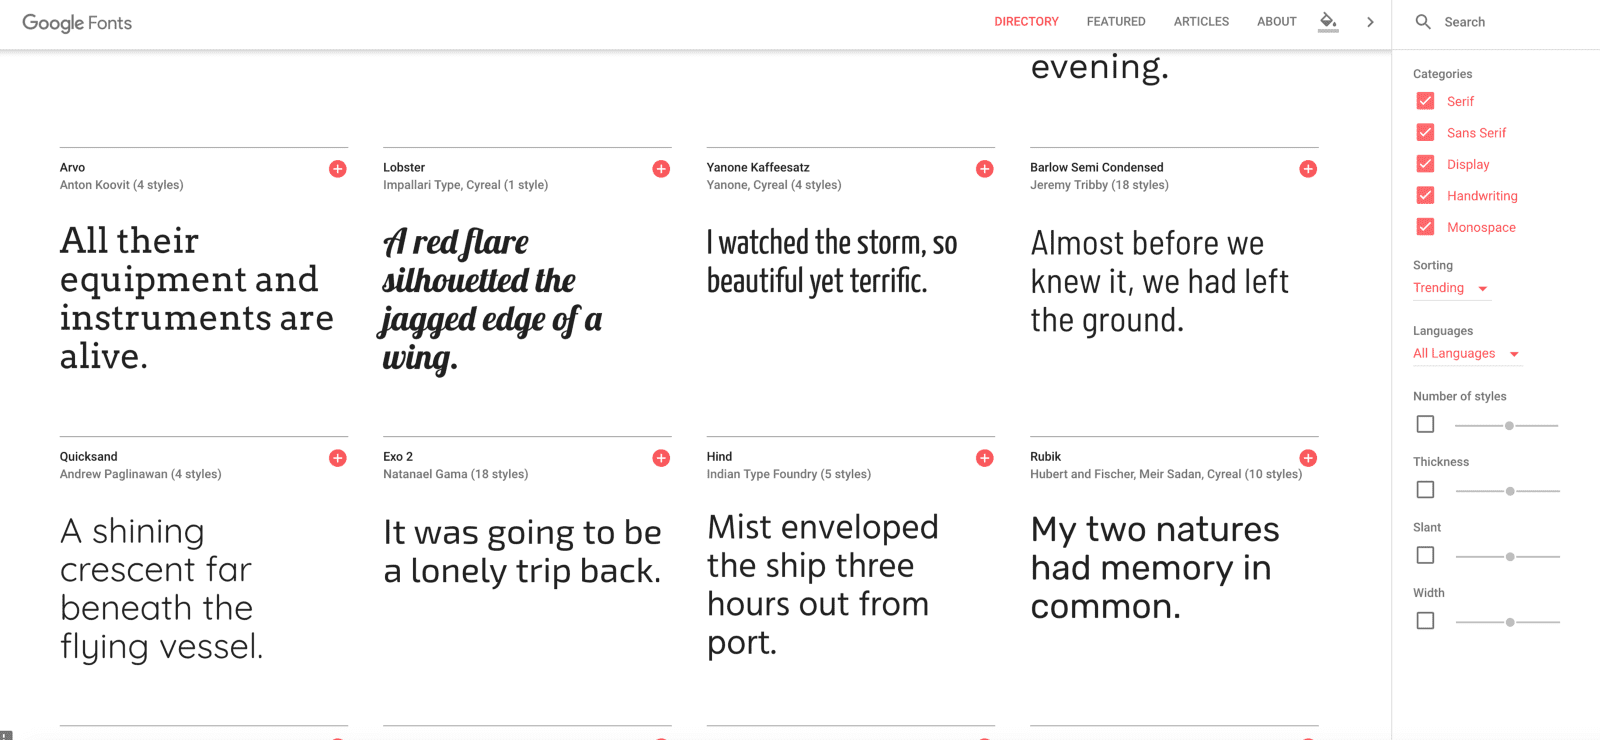
Google Fonts
In either case, after getting the fonts, these need to be included in any path inside the project (image is a suggestion, but feel free to choose whatever fits your project best):
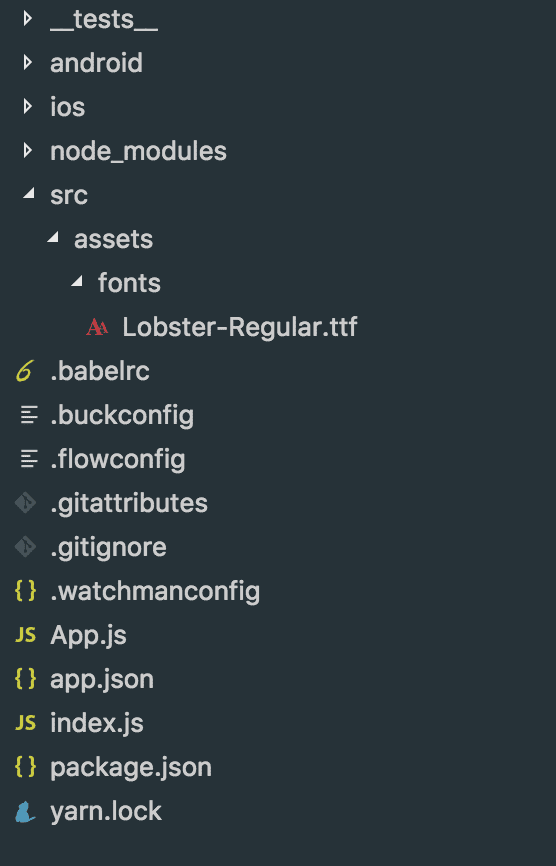
Path is optional, can be any as long as it's inside the project
Step 3: Linking the fonts to Android and iOS
Thankfully, this step, which back in the day used to be the biggest pain in the process, is now quite straightforward. By using react-native link (which is included in React Native - you can find more info about how it works in this link) we can create the necessary links for the fonts to work with the native code, in both Android and iOS.
For react-native link to look for the font assets and link them to the native projects, it's necessary to add an extra section to the project's package.json specifying the path where the fonts are stored:
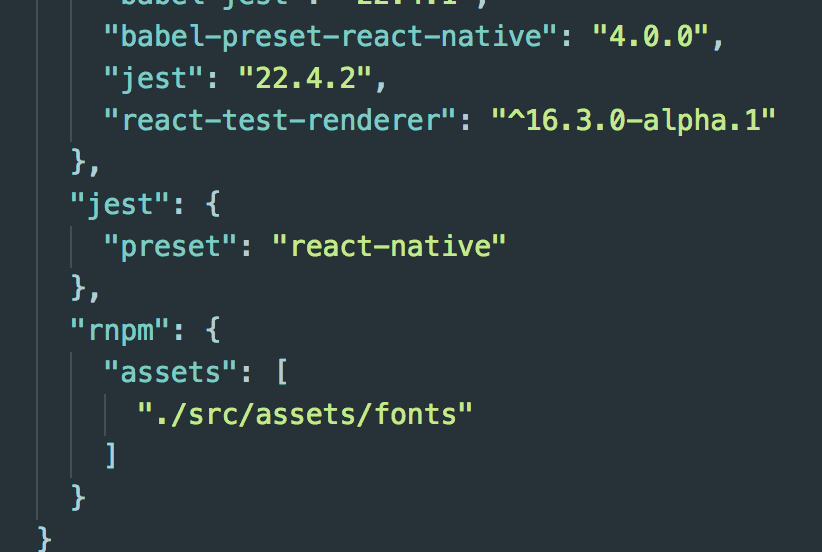
“assets” is an array that can have multiple paths that react-native will search to link the files
Now, by running:react-native linkThe react-native cli will look in those paths and will try to link every valid asset that it finds to the native projects.

react-native link output
If everything went well, the fonts should be included in both native projects:
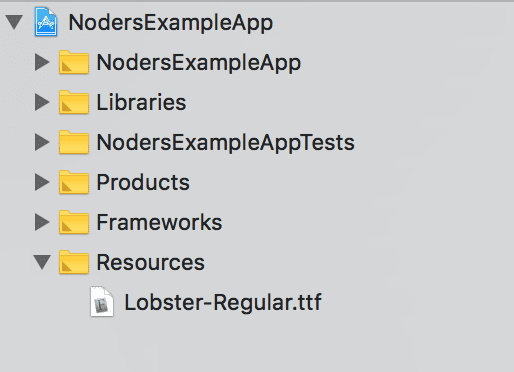
Fonts are stored in the “Resources” group in Xcode.
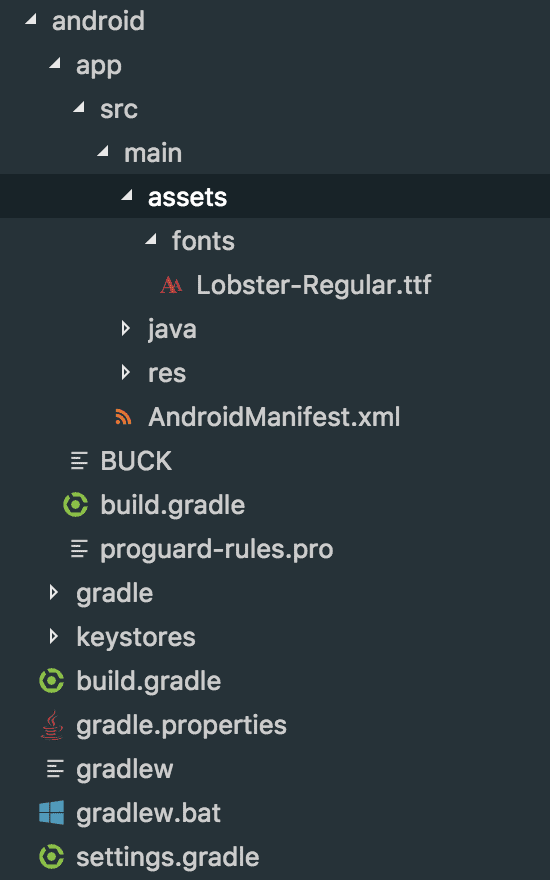
And for Android in ./android/app/src/main/assets/fonts/
Step 4: Using the fonts in the app
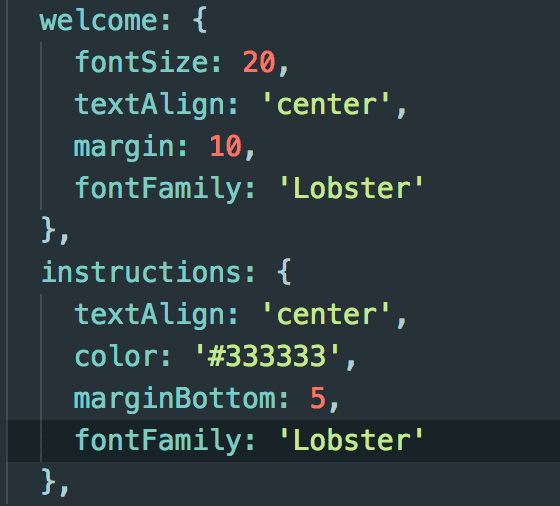
To use the fonts in the app, we'll just need to add or update the font-family property of any text component to include the custom font we just loaded:
font-family: "Lobster";
However, there's a caveat:
For the app to show the font, we have to include the correct name of the font, which a lot of times may not be the same as the file name or the one that appeared in the font description or shows in certain apps that use custom fonts (such as word processors or image editors). On top of that, sometimes this name is different between Android and iOS.
To get the correct name of the font, there is a couple of different methods:
Using Font Book (macOS/ OS X)
If you are using macOS/OS X, the simplest way to get the name of the font is by using Font Book, a utility app that's included by default:
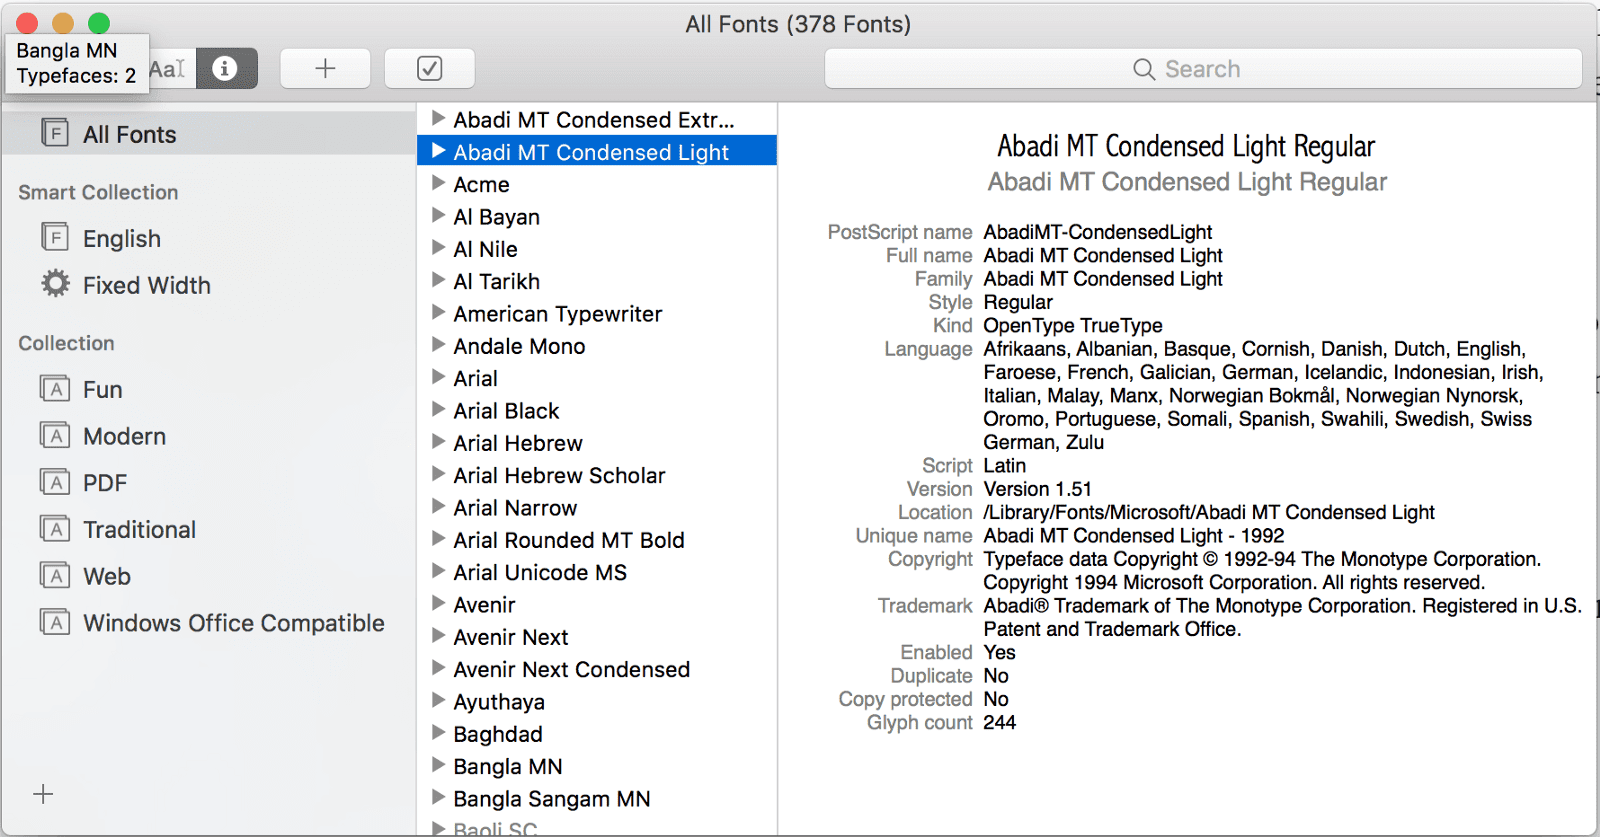
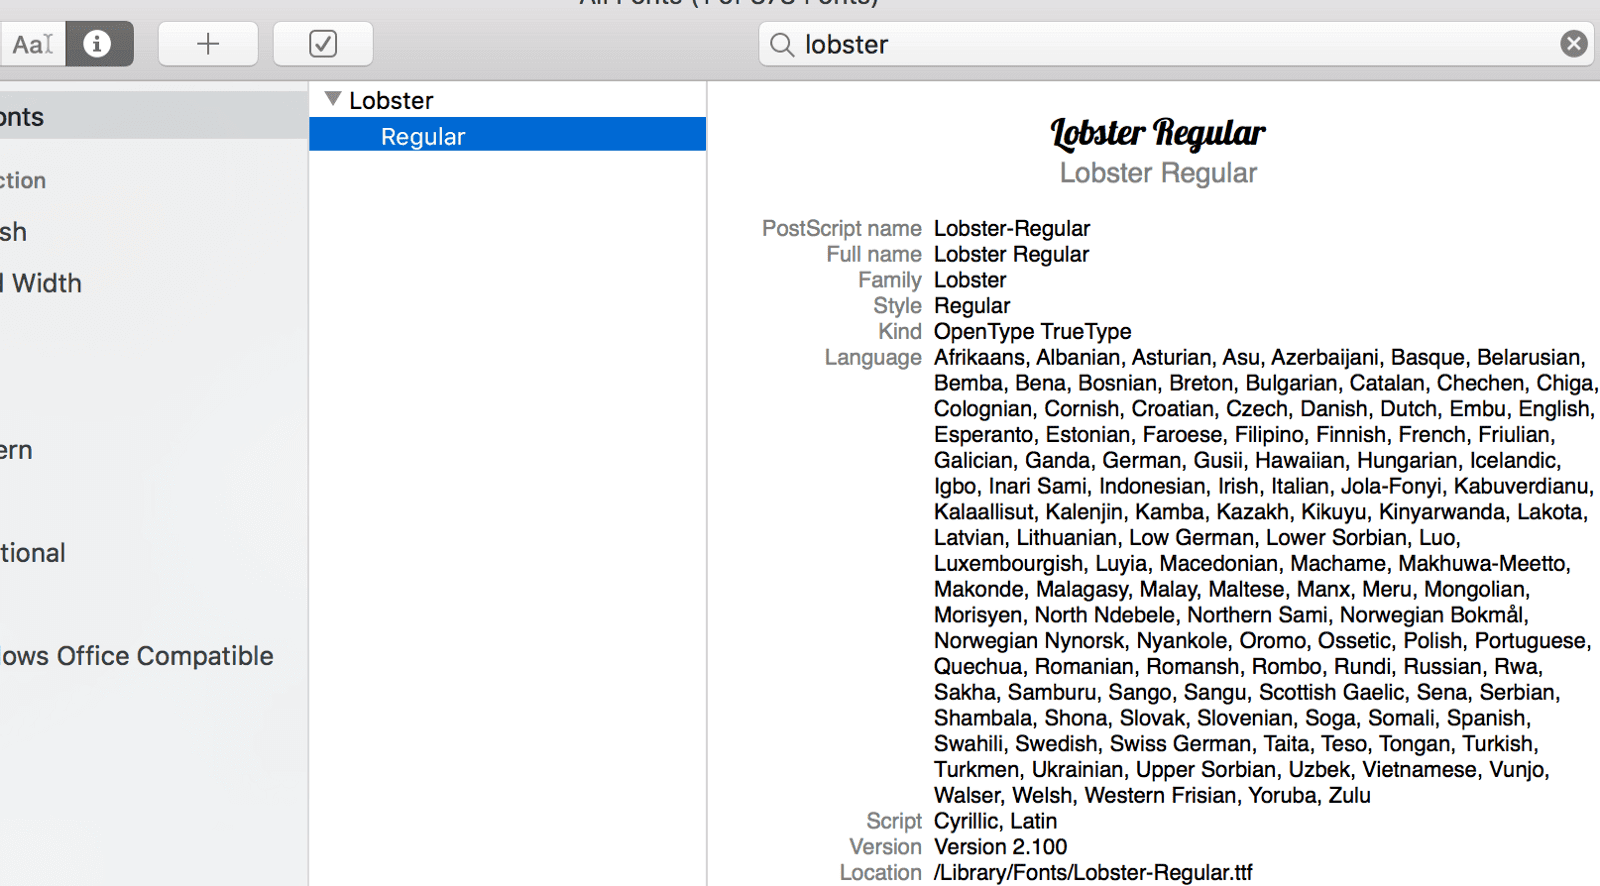
After opening Font Book, we'll just need to look for the font we want and in the description look for any of these 3 values: PostScript name, Full name and Family. Though most of the times the correct is the last one, there are cases where it could be any, so we'll need to do a bit of trial an error until getting it right.
Using Xcode
The other option, if you have Xcode available, is to add this code in your application code:
NSArray *fontFamilies = [UIFont familyNames];
for (int i = 0; i < [fontFamilies count]; i++){
  NSString *fontFamily = [fontFamilies objectAtIndex:i];
  NSArray *fontNames = [UIFont fontNamesForFamilyName:[fontFamilies objectAtIndex:i]];
  NSLog (@"%@: %@", fontFamily, fontNames);
}
Then run the app and check the output log inside Xcode, which should list the available fonts with the correct names.
For Android:
Fortunately, for Android, most of the times by using the name of the file (minus the extension) will do the trick.
If we add the correct name, then we should see the new font showing in the app:
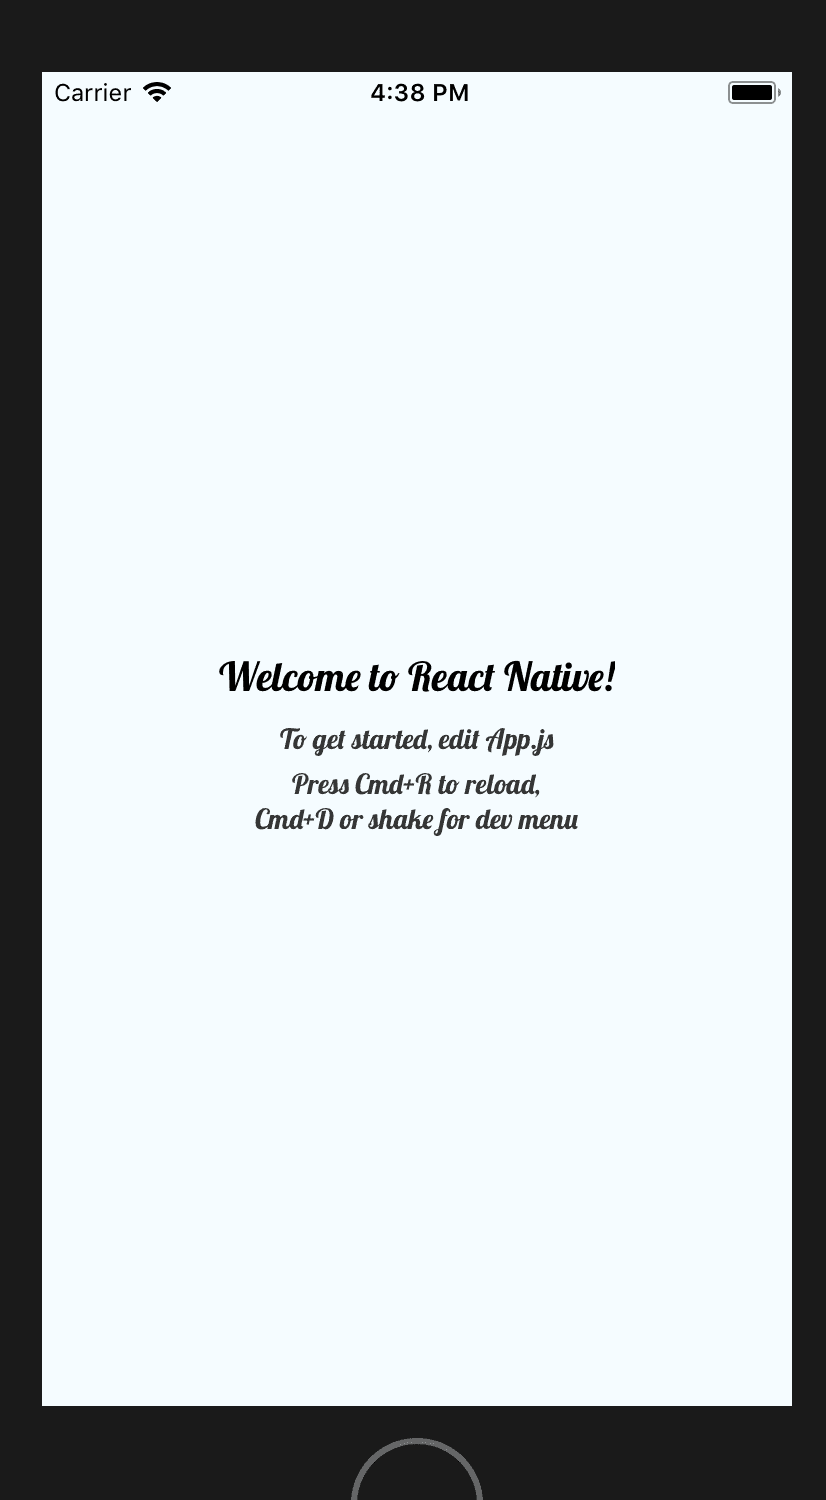
Result in iOS
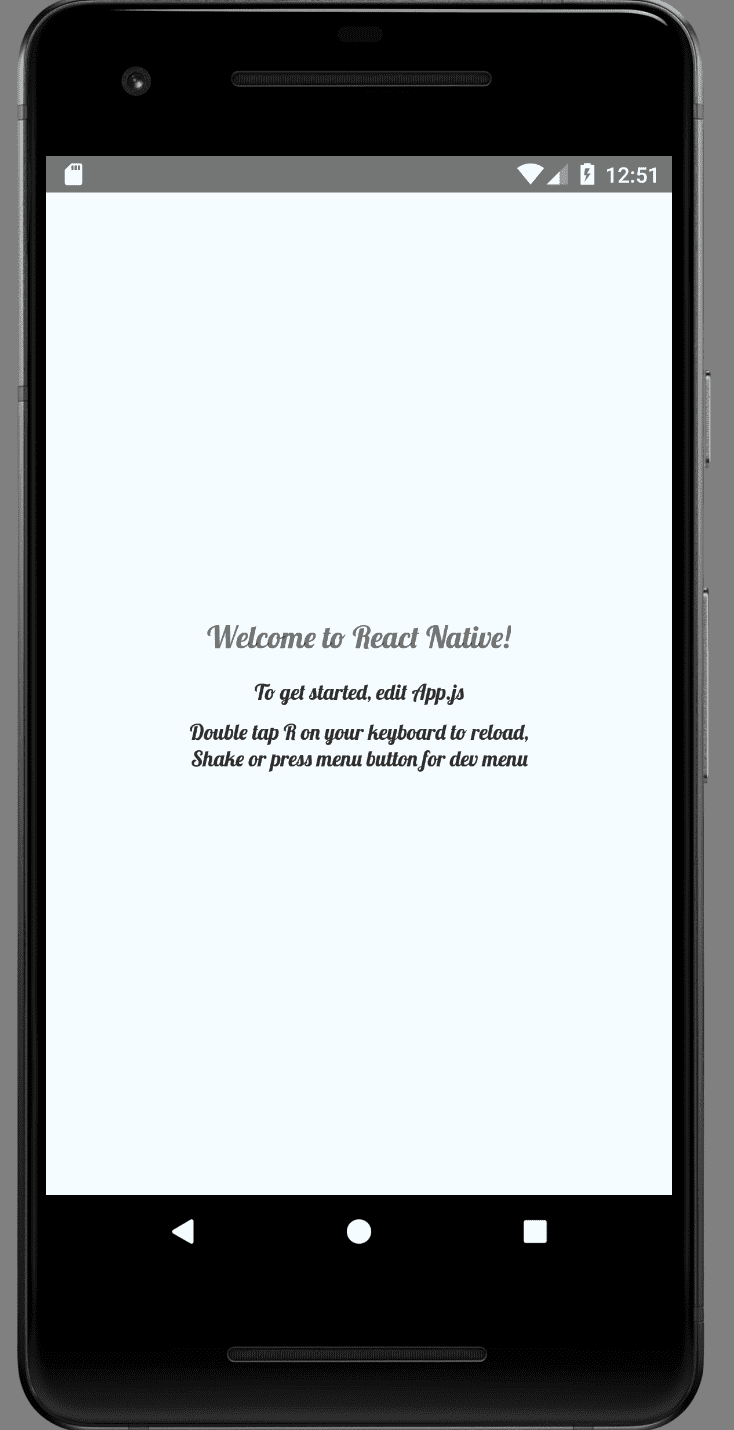
Result in Android
Supported formats
So far, these are the supported formats for Android and iOS:
- Android: TTF, OTF, TTC.
- iOS: TTF, OTF, WOFF (iOS 10+), WOFF2 (iOS 10+).
Tips and Caveats
A few things that could happen to keep in mind and avoid countless hours of debugging (like it happened to me when first playing around with custom fonts 😞)
- As mentioned above, for Android sometimes matching the name of the file is enough to use the custom font and this could be different from the name that we'll need to use for iOS. If that's the case, it's recommended to either change the name of the file so it's the same for both, or to use the Platform module to check if it's Android or iOS and use the correct one. The code in the example uses the latter method.
- In some cases, if the styles of the text component have an extra property that modifies the font (like font-weight: bold), the font will not appear and the device's default font will appear instead. For these cases, we'll need to include the correct variant for the font and use that as font-family (for instance, Open Sans Bold). This is a good thing to keep in mind if we don't see our custom font inside the app and we're sure we did every step of the setup correctly.
Source Code
The source code for this example can be found here: https://github.com/Xabadu/CustomFontReactNativeExample